Your First HF Antenna: A Practical Guide to Getting on the Air
Choosing your first HF antenna doesn’t have to feel like rocket science. Whether you’re limited on space, working with a tight budget, or just wondering what will actually get you on the air, the right antenna is out there. In this post, I’ll break down the key things to think about—like size, cost, simplicity, and performance—so you can find the best fit for your ham radio journey without the confusion.
ANTENNA
S21FIA
9/24/20259 min read

This blog is for you if you are starting your HF journey.
You've probably asked the classic question to your fellow HAMs: "What antenna should I get?" and received a dozen different answers from them. Don't worry—this isn't because there's some secret knowledge. It's simply because antenna selection is like choosing the right tool for a job: the best choice depends entirely on what you're trying to accomplish.
Let's bypass the confusion and help you to choose an antenna that actually works for your specific situation. But it is you who will be making the decision- nobody else can make the decision-“which Antenna is Best for you”. Consider this blog rather as a prescription, not a guideline.
The Truth
Before we dive into specific recommendations, here are some fundamental truths that will save you countless hours of frustration:
There is no such thing as a perfect antenna. Every design involves trade-offs. The goal is finding trade-offs that you can settle with.
Simple usually wins. A basic wire dipole might not look impressive, but it can work the world when conditions cooperate.
Your first antenna won't be your last. Most successful hams have tried dozens of different antennas over the years. Start somewhere and evolve.
Any antenna is better than no antenna. A "mediocre" antenna that's actually installed will always outperform the "perfect" antenna that exists only on paper.
What Really Matters: The Key Factors
Space: Your Biggest Constraint
Your available space will likely determine your antenna choice more than any other factor. Let's be realistic about what different antennas actually require:
Full-size 80m dipole: Needs about 130 feet of horizontal space
40m dipole: Requires roughly 66 feet
20m dipole: Fits in about 33 feet
Vertical antenna: Can work in spaces as small as 10x10 feet
Stealth Factor: Keeping the Peace
Sometimes the best technical solution isn't the best practical solution. For those who live in the urban or metro areas, neighbors are a big factor for raising a big size HF antenna. Consider these visibility levels:
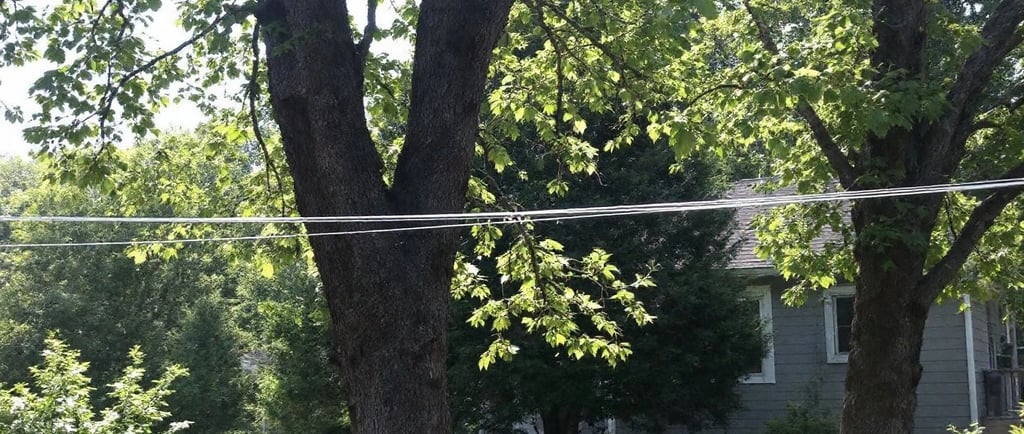
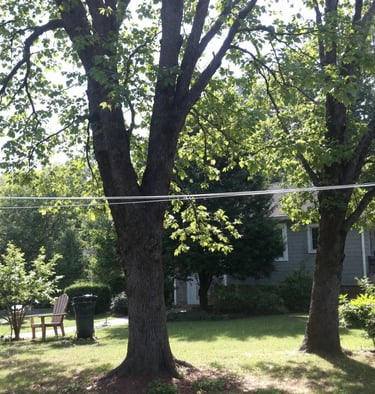
Nearly Invisible: Thin wire antennas, especially when run through trees
Low Profile: Small verticals, magnetic loops on balconies
Obvious but Acceptable: Larger verticals, wire antennas on visible supports
Attention-Getting: Large beam antennas, tall towers
Your Operating Goals/Practices
What you want to do with your radio should drive your antenna choice accordingly:
Local/Regional Communication (0-1000 KM): Low dipoles, NVIS antennas
DX Hunting (1000+ KM): Verticals, beams, high dipoles
Contest Operation: Directional antennas, multiple antennas
Emergency Communication: Reliable, simple antennas with backup power
Popular First Antenna Options
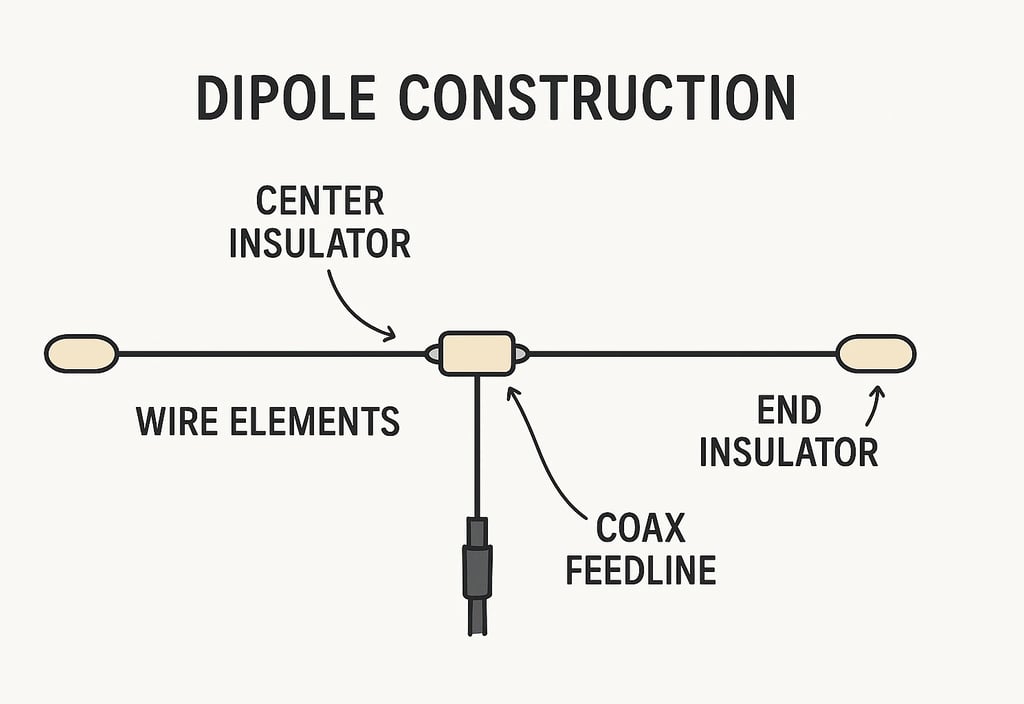
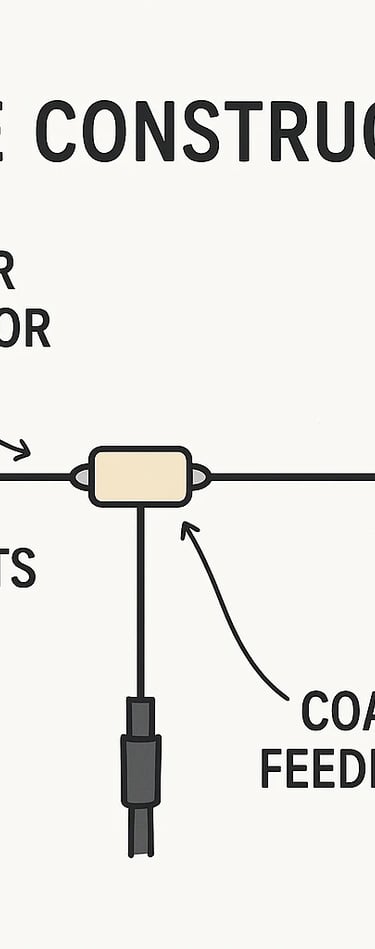
The Classic Half-Wave Dipole/ Inverted Vee
The dipole is the "Toyota/Honda" of antennas—reliable, well-understood, and effective. It gets by, may be not the best luxury/performance.
Best for: Beginners who want proven performance
Space needed: Half-wavelength of horizontal distance
Cost: from 500 to 5000 Tk.
Complexity: Low—just wire, insulators, and coax
Pros:
Simple to build and understand
Predictable performance
Inexpensive
Easy to model and optimize
Cons:
Single-band operation
Requires significant horizontal space
Performance varies with height

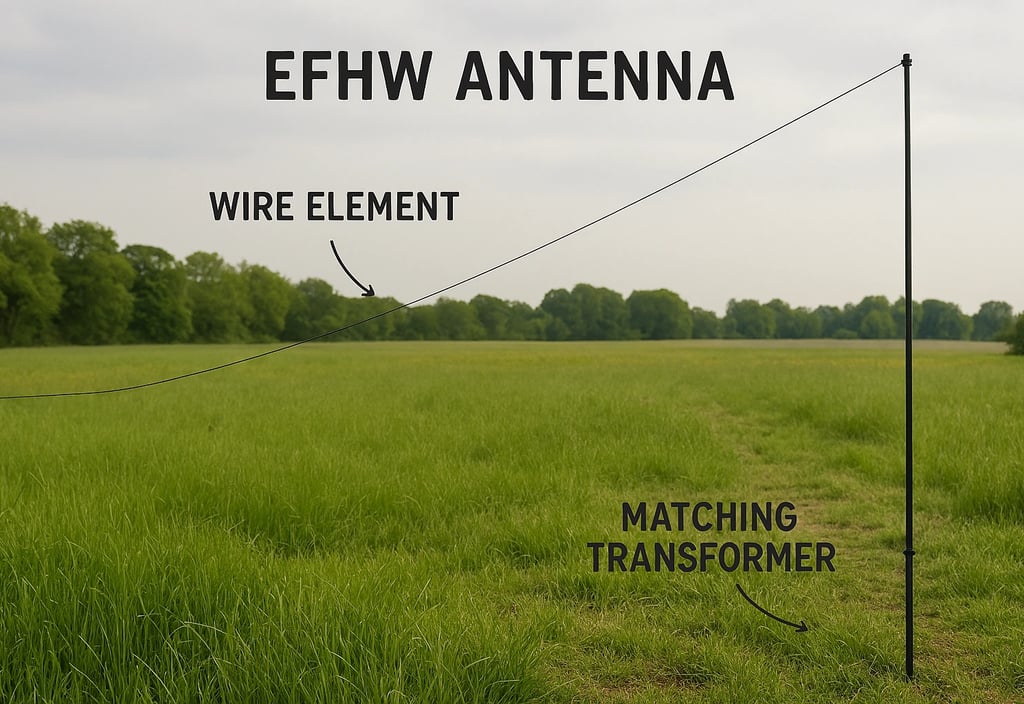
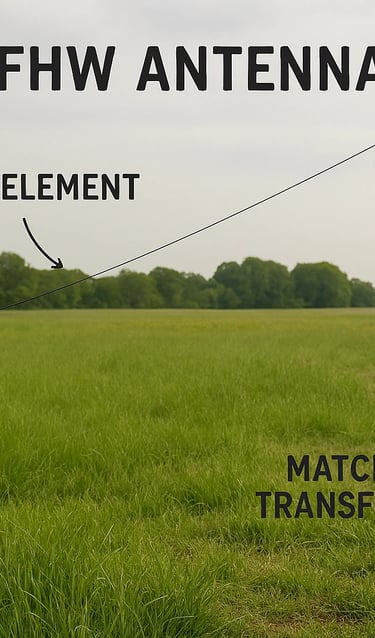
End-Fed Half-Wave (EFHW)
The EFHW is like a dipole's more flexible cousin—easier to support but sometimes trickier to tame.
Best for: Portable ops and challenging installation spaces
Space needed: Half-wavelength, but only one support point needed
Cost: from 500 to 5000 Tk.
Complexity: Medium, as it requires matching transformer (UNUN 49:1 OR 64:1)
Pros:
Only one feedpoint to deal with
Easier to support in difficult locations
Great for portable operation
Can often work multiple bands
Cons:
More sensitive to surroundings
May require careful installation to avoid RFI
Matching transformer adds complexity
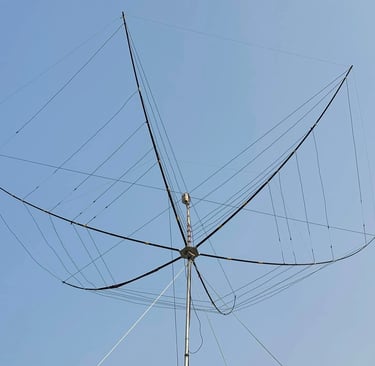
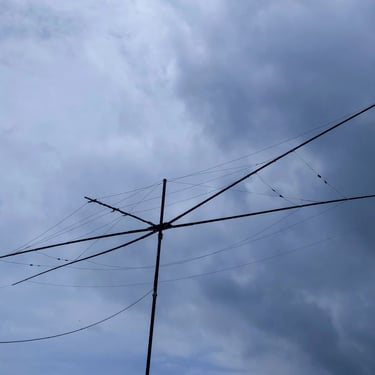
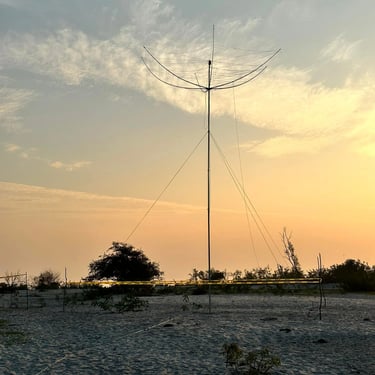
Vertical Antennas
Verticals are the "pickup truck" of antennas—they excel at specific jobs, especially DX.
Best for: DX hunting and small spaces
Space needed: Small footprint, but may need radial field
Cost: 3000 – 30000 Tk. depending on design
Complexity: Medium to high as ground system is critical that directly affects the performance
Pros:
Excellent low-angle radiation for DX
Small horizontal footprint
Often work multiple bands
Less affected by nearby objects
Cons:
Require good ground system for efficiency
Can be noisy in urban environments
May need guy wires for stability
Though the antenna foot print is very small, it requires big open space for performance.
End-Fed Random Wave (EFRW)
The EFRW is like a EFHW’s cousin, this is a compromise antenna that tries to do everything reasonably well, but is not resonant to any band directly.
Best for: Portable ops and challenging installation spaces
Space needed: Not exactly but similar to half-wavelength, but only one support point needed
Cost: from 500 to 5000 Tk. For the antenna, Tuner cost is separate.
Complexity: Medium, as it requires matching transformer (UNUN 9:1) and a matching box (Tuner).
Pros:
Only one feedpoint to deal with
Easier to support in difficult locations
Great for portable operation
mostly works multiple bands
Cons:
More sensitive to surroundings
Will require careful installation to avoid RFI
Matching box i.e.- Tuner adds complexity and cost
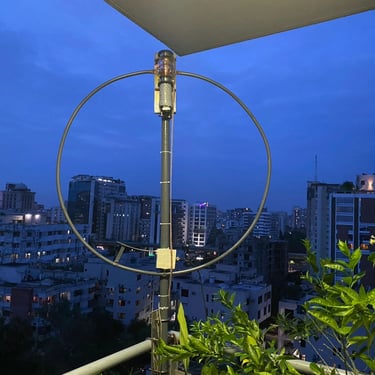
Magnetic Loop (MAGLOOP)
Magnetic loops are the "EV/ Hybrid car" of antennas—tiny but surprisingly capable in the right circumstances.
Best for: Severely space-constrained situations
Space needed: As little as 3-4 feet diameter
Cost: 10000 to 1 lac for commercial versions
Complexity: High - requires precise tuning
Pros:
Extremely compact
Low noise reception
Apartment friendly
Directional properties useful for nulling interference
Cons:
Narrow bandwidth
Requires frequent retuning
Limited power handling
Expensive for the coverage provided
Requires careful construction for safety
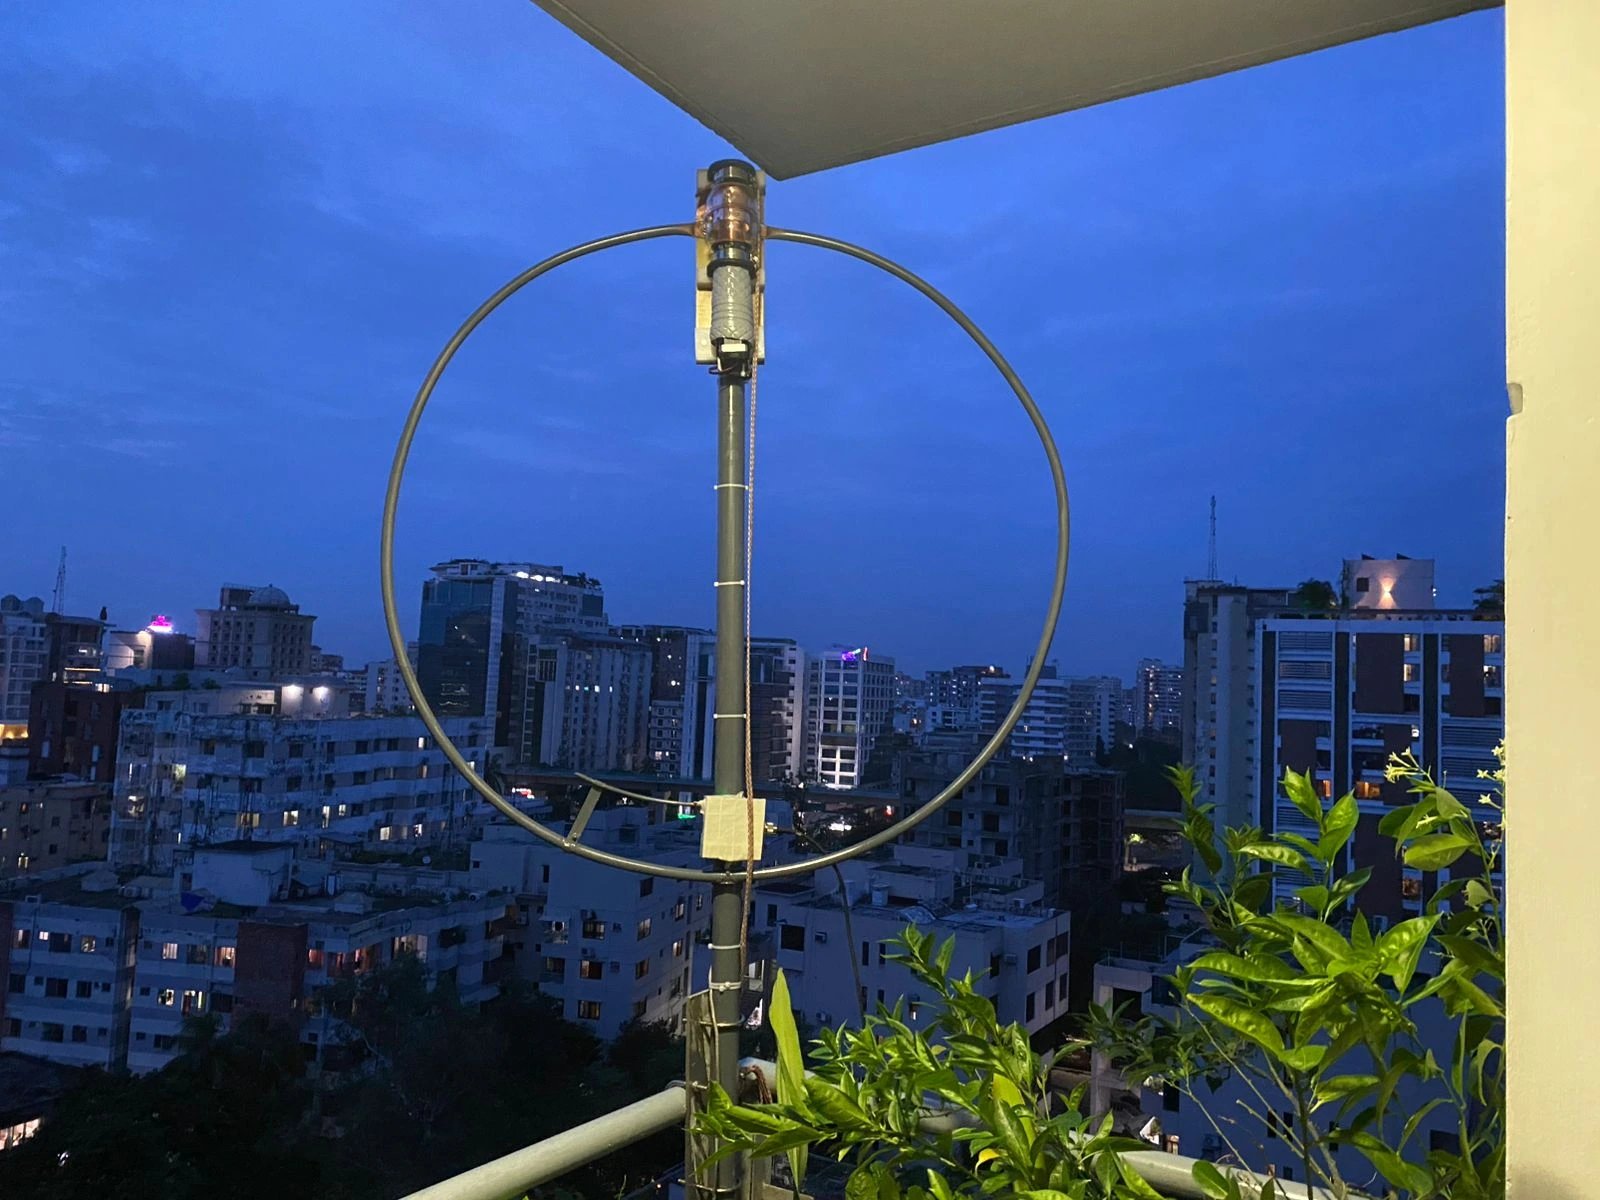
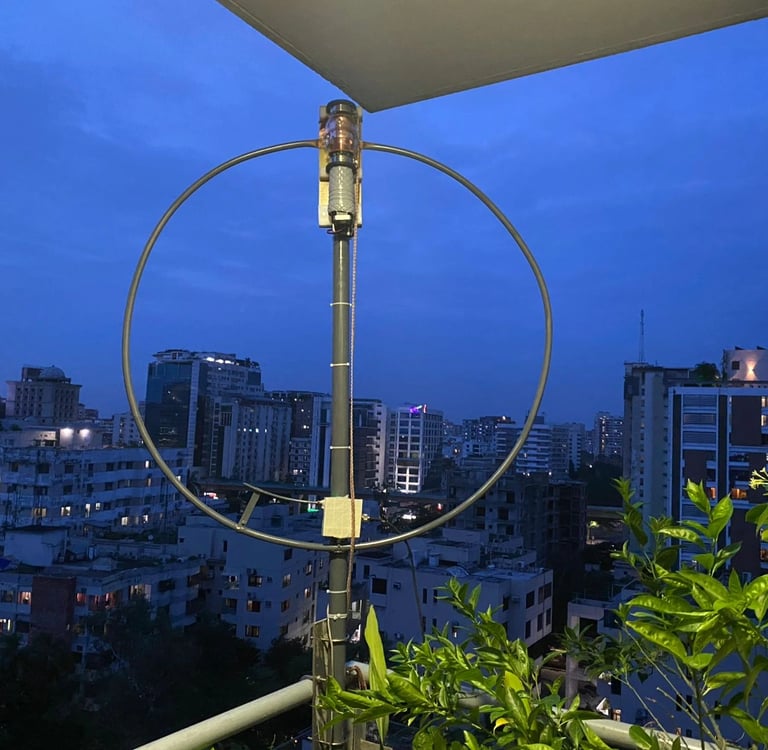
MagLoop antenna of S21RC at his balcony as he was not allowed to install The Antenna on his rooftop.
Now Your Choice: A Step-by-Step Process
Step 1: Assess Your Constraints
Measure your space: Walk your property with a measurement tape. Identify possible support points for a horizontal antenna. Consider vertical options if horizontal space is limited.
Check local restrictions: Review neighbour point of view, city guidelines, and rent agreements. When in doubt, ask someone in your neighbourhood. Remember, it is better to get permission than forgiveness.
Set a realistic budget: Include not just the antenna, but coax, connectors, supports, and any matching equipment/ Tuner needed.
Step 2: Prioritize Your Needs
Which bands matter you most? If you're not sure, 20 meters is a great place to start—it's active day and long after sun down with reasonable propagation.
What's your primary interest? DXing favors different antennas than local nets.
How much complexity do you want? Be honest about your technical comfort/ capacity level and available time.
Step 3: Start Simple
For most new hams, I recommend this progression: (you are not bound to follow)
First antenna: Simple dipole or EFHW for 20 or 40 meters
Second antenna: Add another band, try a different antenna type or make a fan dipole.
Third antenna: Experiment with directional antennas or specialized designs
Installation Tips: Road to Success
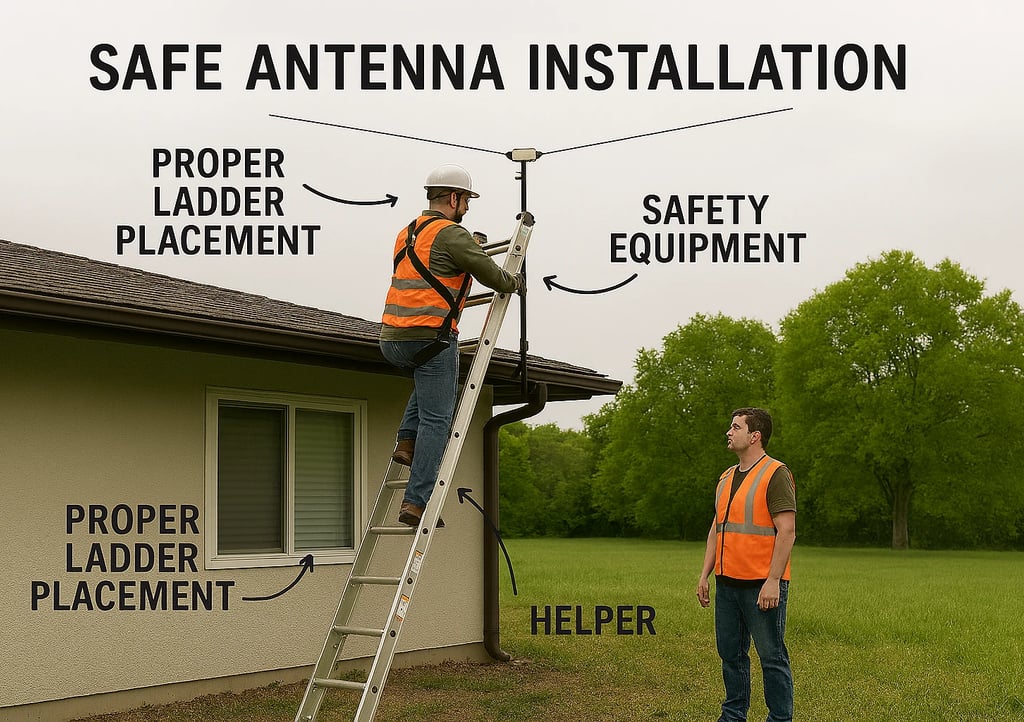
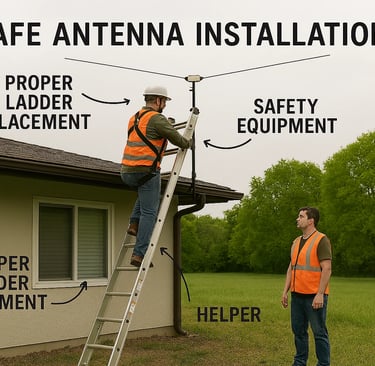
Safety First:
Your Good Health is Worth More Than Any Antenna
When it comes to antenna installation, there's no such thing as being "too careful." Every year, the amateur radio community world-wide loses operators to accidents which are actually preventable. So, follow these critical safety guidelines without exception.
Never Work Alone
Accidents happen in seconds, but help might be hours away if you're working solo. A simple slip from a ladder, a sudden medical emergency, or equipment failure can turn a routine installation into a life-threatening situation.
Power Lines
Electrical contact is the leading cause of antenna-related fatalities. You don't even need to touch a power line directly, electricity can arc through the air, especially in humid conditions or when dealing with long metal antennas. As most of our Antennas are on the roof top – be aware of the power line even which is running below.
Weather considerations
Never work in wind speeds over 15 mph
Avoid installation during or immediately after rain (slippery surfaces)
Be aware that metal structures can become lightning attractors
Getting the Best Performance
Once safety is assured, focus on maximizing your antenna's effectiveness. Small improvements in installation can yield dramatic improvements in performance.
Height
Antenna height affects both your radiation pattern and your ability to clear nearby obstacles. The difference between 20 feet and 40 feet can be the difference between regional and worldwide communication.
Remember:
Higher antennas have lower radiation angles, better for DX
Each additional wavelength of height can provide 6dB or more of gain in preferred directions
Height helps clear trees, buildings, and other RF obstacles
Practical height strategies:
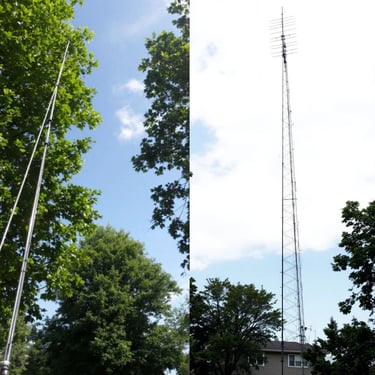
Trees as supports: Healthy, mature trees can support wire antennas at impressive heights
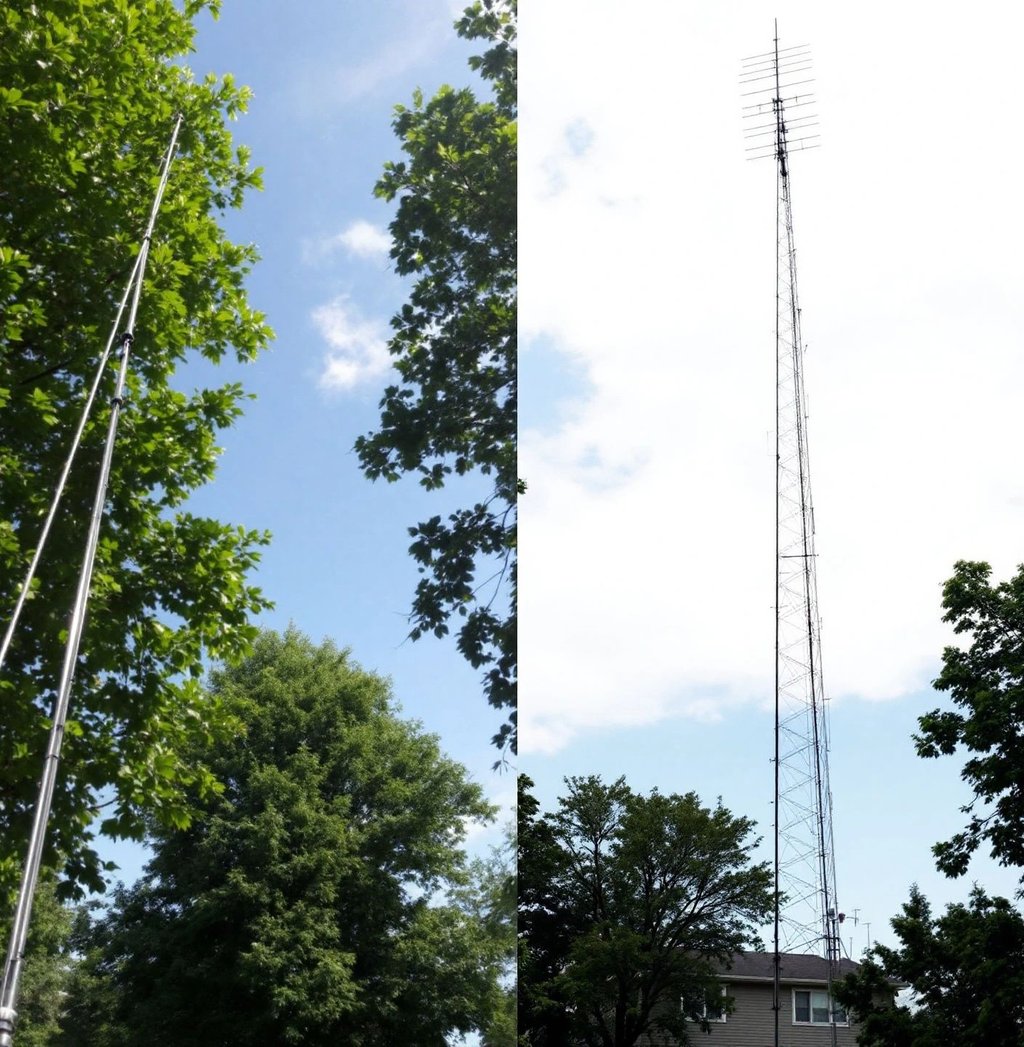
Telescoping masts: Allow you to experiment with different heights easily
Roof mounting: Can add 20-30 feet without requiring a tower
Hill placement: Natural elevation is just as good as artificial height
Point to note: Going from 10 to 30 feet makes a huge difference. Going from 100 to 120 feet makes much less of a difference. Find the sweet spot for your budget and situation.
Keep It Away from Metal
Metal objects near your antenna don't just "block" signals—they actually change your antenna's characteristics, often in unpredictable ways.
Keep antennas at least 1/4 wavelength away from large metal objects if possible
On 20 meters, that's about 16 feet; on 40 meters, it's about 33 feet
If you can't maintain separation, consider how to use metal objects as reflectors rather than fighting them
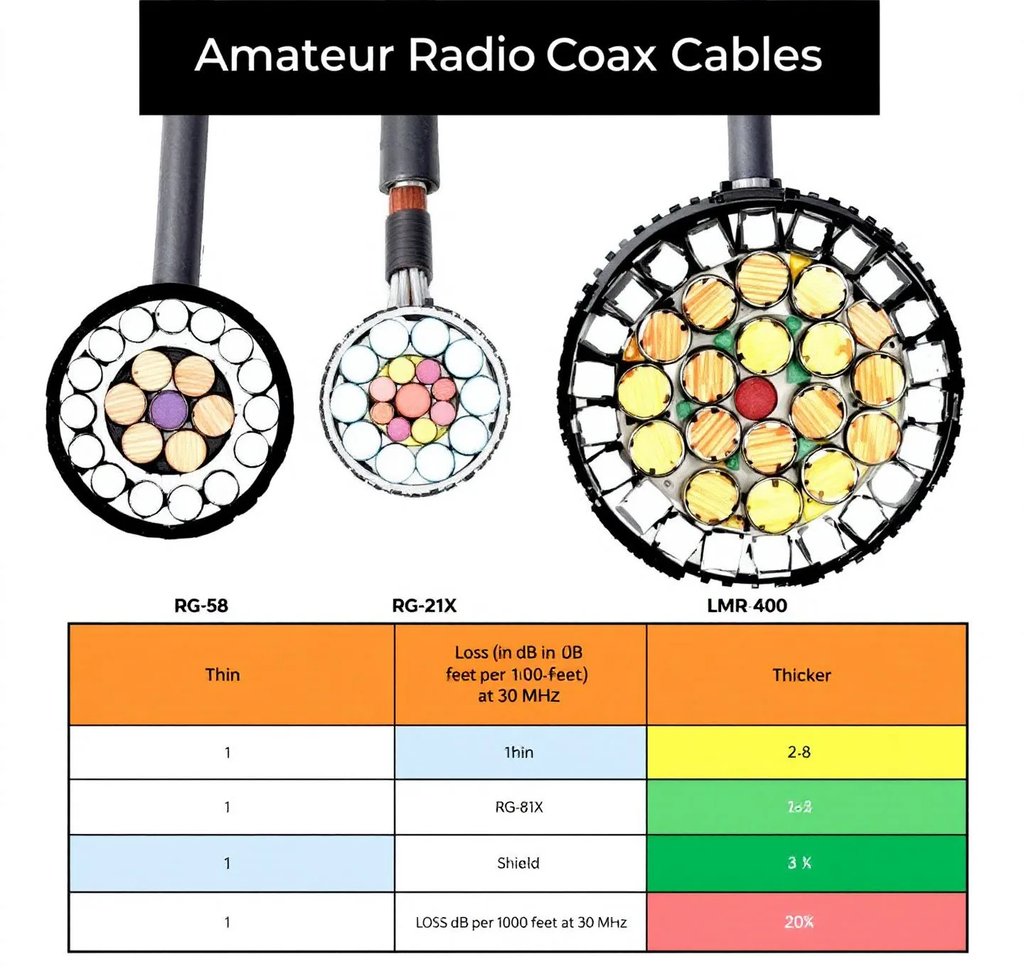
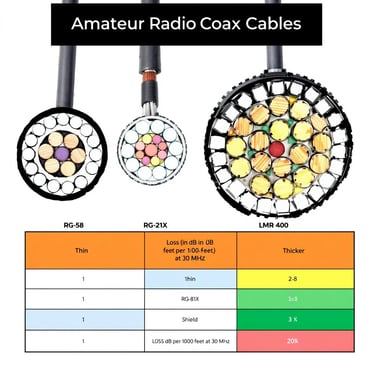
Use Quality Coax
Many hams spend hundreds on antennas, then connect them with poor quality coax that wastes half their power and degrades weak signals.
What "quality" really means:
Low loss: Look for cables with loss ratings under 2dB per 100 feet at your operating frequency
Proper impedance: 50-ohm cable for most amateur applications
Weather resistance: UV-resistant jacket, proper connector sealing
Appropriate size: Larger diameter generally means lower loss, but also higher cost and installation difficulty
Popular coax choices:
RG-8X: Inexpensive and flexible, but higher loss on longer runs
RG-213: Good balance of cost, performance, and handling
LMR-400: Excellent performance but expensive and stiff
Hardline: Ultimate performance for long runs, but requires special connectors and installation skills
Installation best practices:
Avoid sharp bends—use gentle curves with radius at least 10 times the cable diameter
Seal all outdoor connections with quality weatherproofing
Support the cable every few feet to prevent stress on connectors
Keep coax runs as short as practical—every foot of coax adds loss
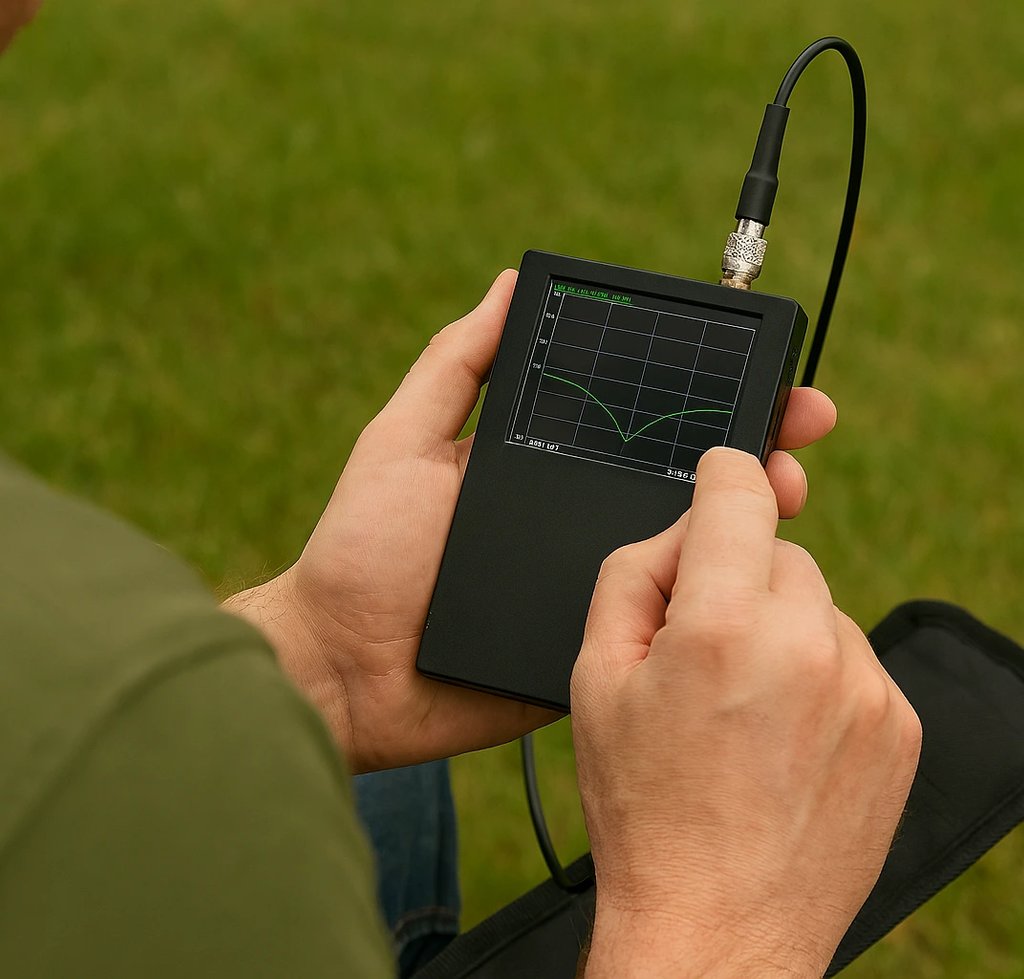
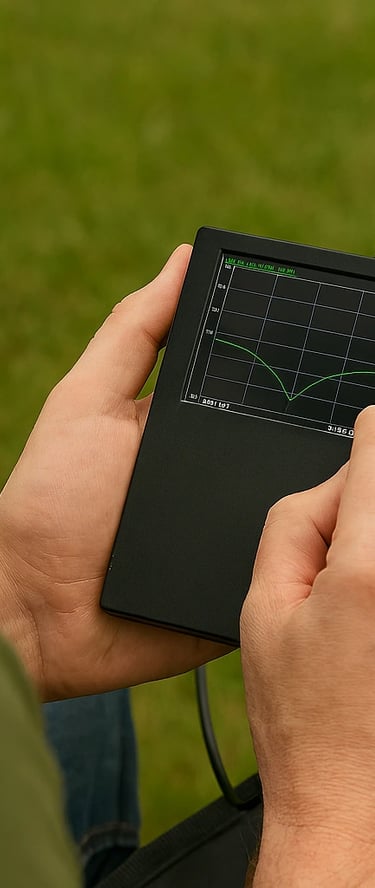
Test Thoroughly
Measure Twice, Transmit Once
An antenna that looks perfect might have serious problems that only show up under measurement. Proper testing protects your equipment and ensures optimal performance.
SWR (Standing Wave Ratio): Should be under 2:1 across your operating bandwidth, preferably under 1.5:1
Resonant frequency: Where the antenna naturally wants to operate
Bandwidth: How much frequency range gives acceptable SWR
Impedance: Should be close to 50 ohms for direct coax connection
Troubleshooting common problems:
High SWR everywhere: Check connections, coax, and antenna construction
SWR varies dramatically: Look for intermittent connections or weather-related issues
Good SWR but poor performance: Check for nearby metal objects or ground system problems
Remember: These aren't just suggestions—they're the difference between a successful, safe antenna installation and a potential disaster. Take the time to do things right the first time. Your family, your neighbors, and your fellow hams are counting on you to be a responsible operator.
Common Mistakes (And How to Avoid Them)
Analysis Paralysis
The problem: Spending months researching instead of getting on the air
The solution: Pick something reasonable and build it. You'll learn more from one real antenna than from reading about dozens.
Ignoring Physical Constraints
The problem: Choosing an antenna that looks great on paper but won't work in your situation
The solution: Be brutally honest about your space, budget, and restrictions.
Perfectionism
The problem: Waiting for the "perfect" antenna design
The solution: Remember that a good antenna you actually build beats a perfect antenna that stays on the drawing board.
So, Your Next Steps
Measure your available space and identify support points
Choose one antenna type based on your constraints and goals
Start with a temporary installation to test the concept
Get on the air and make contacts -- this is the whole point! of all the efforts
Document what works and what doesn't for future reference
Plan your next antenna based on what you've learned
The Bottom Line
Your first HF antenna doesn't need to be perfect. It just needs to get you on the air. Today whom you see as successful ham started somewhere, usually with something simple and inexpensive. The experience you gain with your first antenna will guide better decisions for your second, third, and future antennas.
The amateur radio community is built on experimentation and learning. Don't be afraid to try something new, learn from it, and try something else. The bands are full of hams who started with simple wire antennas and went on to DXCC.
The best antenna is the one you actually build and use. Everything else is just theory.
Now stop reading about antennas and start building one. Your DXCC is waiting!
73s!!
de S21FIA/ Maruf

Get in touch
Explore
Join me on my ham radio journey.
Connect
Learn
sierra21fia@gmail.com
© 2025. All rights reserved.